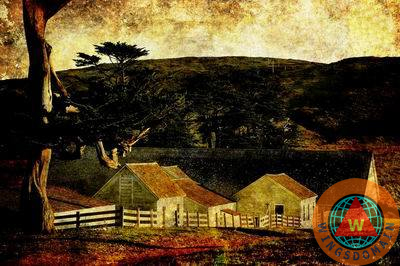

*This blog was originally published on February 16th, 2011 on my Studio-Z site. I am porting it here since this is now my main site.
* If you like any of the photos on this blog or if you want to see more of this type of blogs, pick on the image to purchase a Fine Giclee Print which will contribute to future blogs like this. Additional Texture Photo Art can be found here. Thank you.
In a never ending quest to get the most mileage out of my photographs, I am constantly searching for new creative and pleasing ways to reinterpret them into different forms of art. I have come upon a few interesting photo artworks recently that took advantage of texture, which depending on how one uses it, can create an artistic expression that enriches a photograph with brilliant colors, depth, and a sense of movement, or give the photograph an old world photograph effect. As always, I wanted to dive right in and create something similar myself, but with little to no idea how the textured photo artwork was done, I turned to the internet and did a little research. But as with most of my research, I am too eager to spend too much time reading and trying to understand everything so the result of how I ultimately do things is a combination of a little information and alot of experimentations calling upon my past experiences. What I am trying to express here is that by no means is this blog intended to be a doctrine on creating textured photograph art, but simply my exploration into the textured photograph art world and what seems to work for me based on the knowledge I have accumulated at this very moment.
The steps in adding texture to your photos are actually very simple, but you will want to explore and experiment alot which is where the fun and creative energy comes into play. The process requires the use of Photoshop. Hopefully you are already well versed in using Photoshop which helps when you can use Photoshop as a tool to get the effect you are envisioning. But even without a whole lot of Photoshop experience, you will do quite well as there really aren’t very many steps involved in creating photo art with texture.
I start by either creating or buying a few textured images which you can find and buy on the internet (some are even free), just do a search for “texture images” or better yet, “texture grunge image” or something along those lines. I find sepia, earth tones, and gold texture images to work the best. Next, I continue by visualizing what some of my photographs would look like when combined with the texture images I have in front of me and if I’m lucky, the actual results will be somewhere close to what I have envisioned. You may want to do some quick experimentations with the texture and your photograph to see what effects are possible. After some practice and a few finished exercises, your ability to visualize the texture with your photo becomes much easier. Below are the two images I will use for this exercise:
Texture Image

Photograph Image

Open both the texture image and your photograph image in Photoshop. Go to your photograph image window and duplicate the backgroud layer (Layer->Duplicate Layer) into the same file, name it image1. I do this to keep an original layer of the image so that I can always go back to it easily if necessary. Make sure you have the Layer window on and turn off the original background layer (eye symbol) and don’t worry about this layer anymore unless you need to revert back to it. Now go to your texture image window and also duplicate that background layer but this time make sure you duplicate it into the photograph image window, name it texture1. Then go back to your photograph image window and you are ready for business! You should now see your texture1 layer in your photograph image window and it should appear at the top of your layer window, if it isn’t, move it to the top. Now with the texture1 layer at the top and highlighted, change your blending style to either “Color Burn” or “Linear Burn”, this option appears in the layer window and normally it defaults to “Normal” unless you have changed your default configuration. You should now see both the texture1 layer and the image1 layer combined, kinda like overlayed on top of each other with a certain transparency in both. I like the use of “Linear Burn” over “Color Burn” as the resultant colors are less dramatic but this of course is a personal preference. The combining of the two layers have inevitably resulted in much deeper colors than desired so alot of experiment with both the “Brightness/Contrast” and “Hue/Saturation” settings is required. I often start editing the texture1 layer by increasing “Lightness” under “Hue/Saturation” to a desire level and play with “Brightness/Contrast” as needed. Then if I am not getting what I want, I will go to the image1 layer and do a little tweaking, but not too much since you will be in danger of making the image1 layer disappear if too much “Lightness” or “Brightness is applied. In some cases where it is desired, I will mask out the image1 layer’s subject (ie. the Peregrine Falcon) and use that mask on the texture1 layer so that I can control the brightness/contrast/hue/saturation/lightness independent of other areas. The final version of the texture1 layer after editing is shown below, the image1 layer had minimal editing and so is not shown here. As you can see, the final texture1 layer got pretty light and faint. This is usually required to control the color depths and prevent your final image from looking all dark.
Texture1 layer after editing

The result of this overlaying of the texture image and the photograph is shown below:
The Falcon © All Contents Copyright

As you can see, alot of rich colors and dramatic textures came out in the final image. Not all combinations will work and inevitably there will be those that you will just want to throw away. But you should get a pretty good feel for what you can achieve as soon as you combine the texture image with your photograph, the rest is mostly a matter of controlling the brightness/contrast/hue/saturation/lightness. Feel free to explore other editing tools in Photoshop with your image as you may find other useful techniques that will enhance your photograph and create art that only you can visualize.
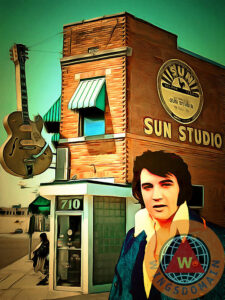
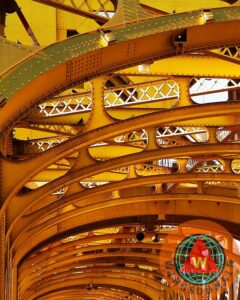
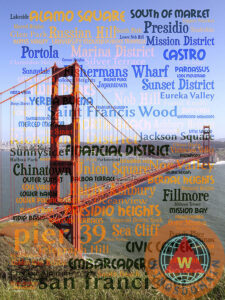
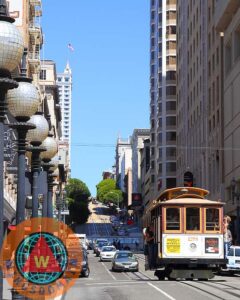
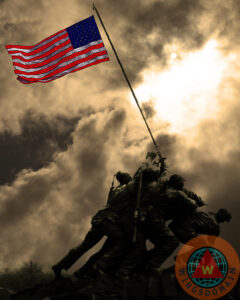
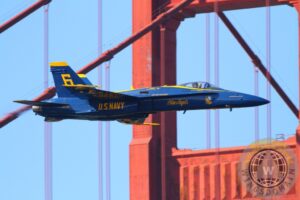
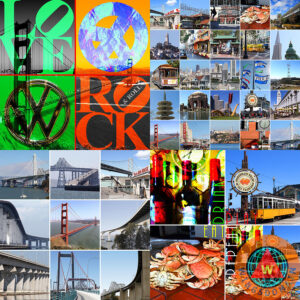
Below are a few more texture photo arts that I have completed. They have varying levels of artistic expression which shows you just how this technique can be explored to create different visual interpretations.
Flight of The Golden Hawks © All Contents Copyright

The Early Bird © All Contents Copyright

Blue Angels Golden Gate and Moon © All Contents Copyright

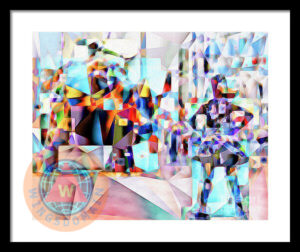
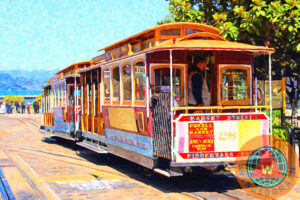
Market Street © All Contents Copyright

San Francisco Cable Car © All Contents Copyright

You can find my entire collection of museum quality Art and Photography prints at https://wingsdomain.pixels.com.











































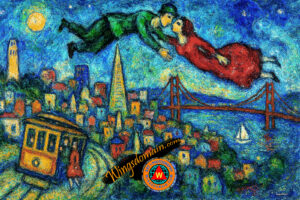

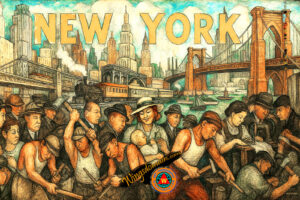

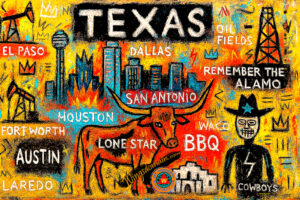

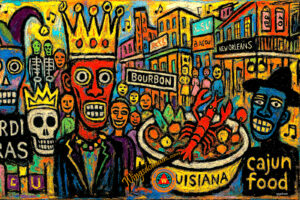
























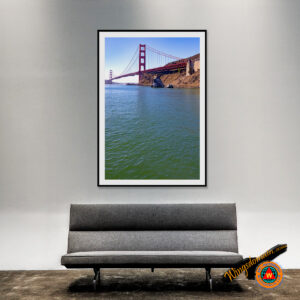
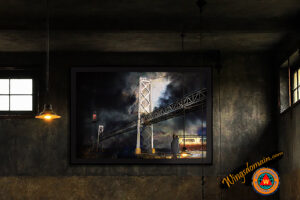


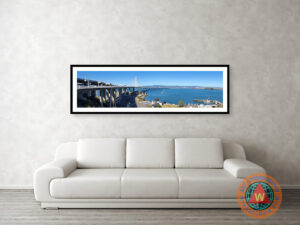
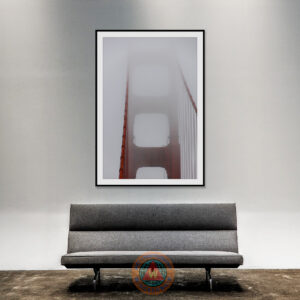

















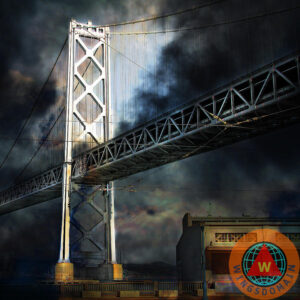

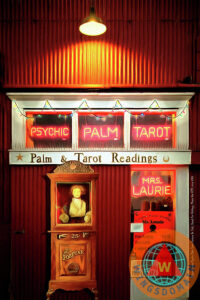

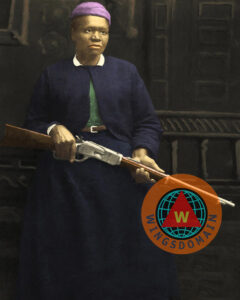






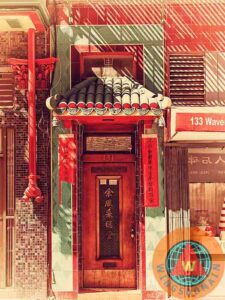
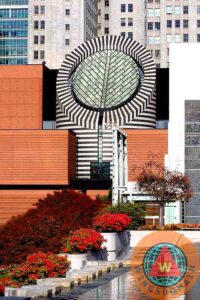
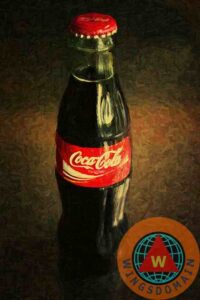


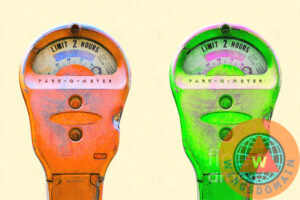















MUSEUM QUALITY PRINTS can be purchased from any image on my website. If you just want a simple print that’s rolled in a tube, that’s great! If you want it framed, we’ll do that too! We also sell canvas prints, metal prints, and more. All of our premium papers and canvases are acid-free and, with proper care, will last for generations. Unframed prints are shipped in sturdy 1/4″ cardboard tubes and include a 1″ white border to allow for future matting and framing. Prints may also be shipped in flat packaging upon request. Pick your favorite art and photography from my website, and a museum-quality masterpiece will be on its way to you within 2 – 3 business days!
FRAMED PRINTS are offered in 230 frames and 100 mats which can be used to create museum-quality masterpieces from any image on my site! All framed prints are assembled, packaged, and shipped by our expert framing staff and arrive “ready to hang” with pre-attached hanging wire, mounting hooks, and nails. Pick your favorite art and photography from my site, and a museum-quality masterpiece will be on its way to you within 2 – 3 business days!
CANVAS PRINTS are printed on one of our premium canvases and then stretched on a wooden frame of 1.5″ x 1.5″ stretcher bars. All canvas prints are shipped “ready to hang” with a hanging wire, mounting hooks, and nails. Canvas prints are offered in two different wrap styles, three different border styles, and hundreds of frame options. Pick your favorite art and photography from my site, and a museum-quality masterpiece will be on its way to you within 2 – 3 business days!
METAL PRINTS are printed directly onto a sheet of 1/16″ thick aluminum! The aluminum sheet is offset from the wall by a 3/4″ thick wooden frame which is attached to the back. The wooden frame on the back of the print includes a hanging wire for easy mounting on your wall. All metal prints arrive “ready to hang” with mounting hooks and nails. Metal prints are extremely durable. They’re lightweight. They won’t bend, and they’re water resistant. The high gloss of the aluminum sheet complements the rich colors of any image to produce stunning results.
Return policy is very simple. If you're not happy with a purchase, for any reason, you can return it to us within 30 days of the order date. As soon as it arrives, we'll issue a full refund for the entire purchase price. Please note - we do not reimburse the outgoing or return shipping charges unless the return is due to a defect in quality. Pick HERE if you want to return a product now. Satisfaction Guarantee 877-807-5901